Your Open WebUI Instance
You can always access your created Open WebUI instances from the link below: https://sleekchat.ai/instances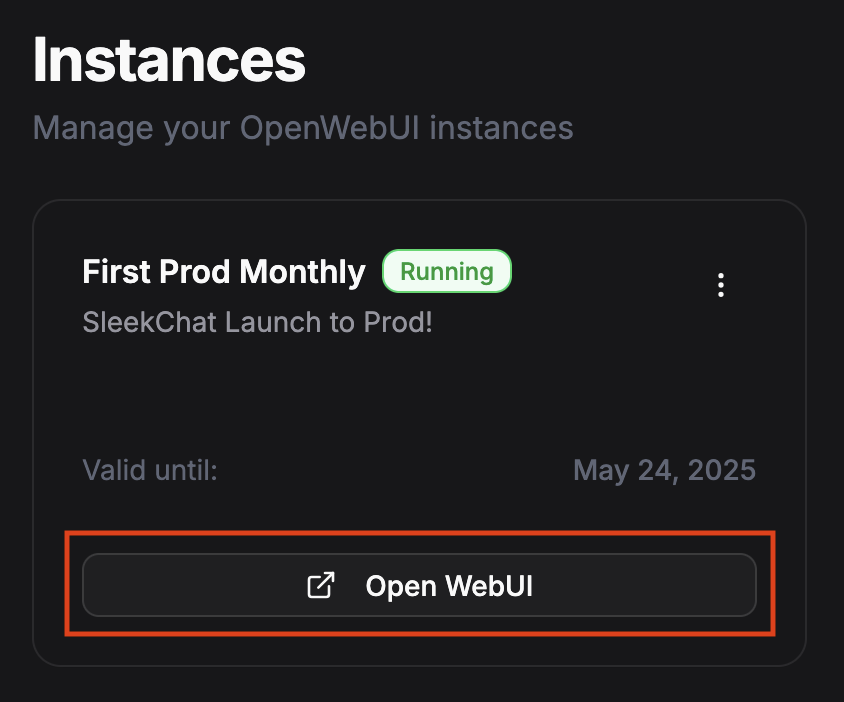
Sign Up Your Admin Account
Now that you have clicked on theOpen WebUI button, you will be taken to the Open WebUI instance. You will see a screen like below:

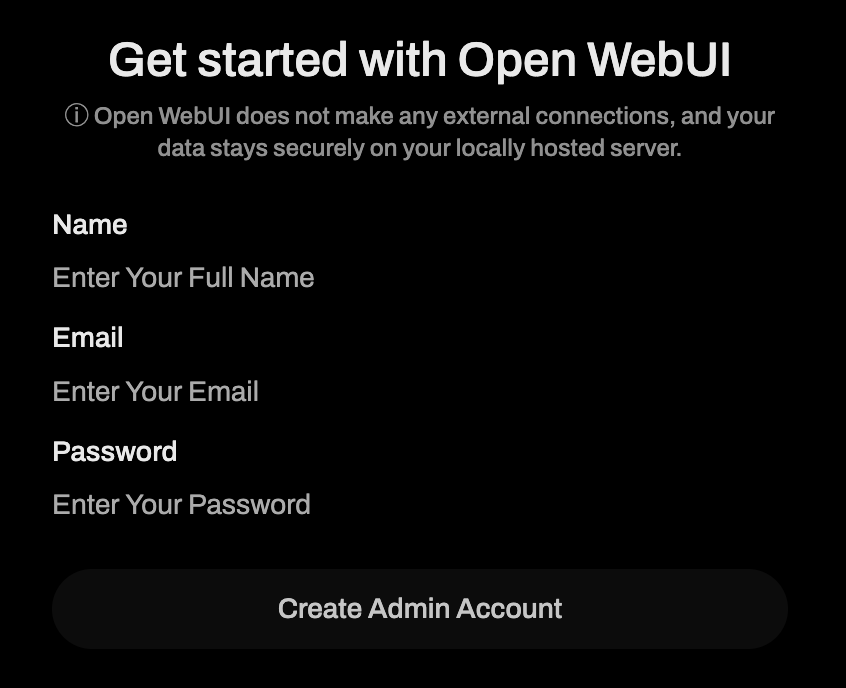
The first user you registered will always be the Admin account.
Chat Interface
Congrats! You have now successfully created your first user in Open WebUI. You will be taken to the chat interface.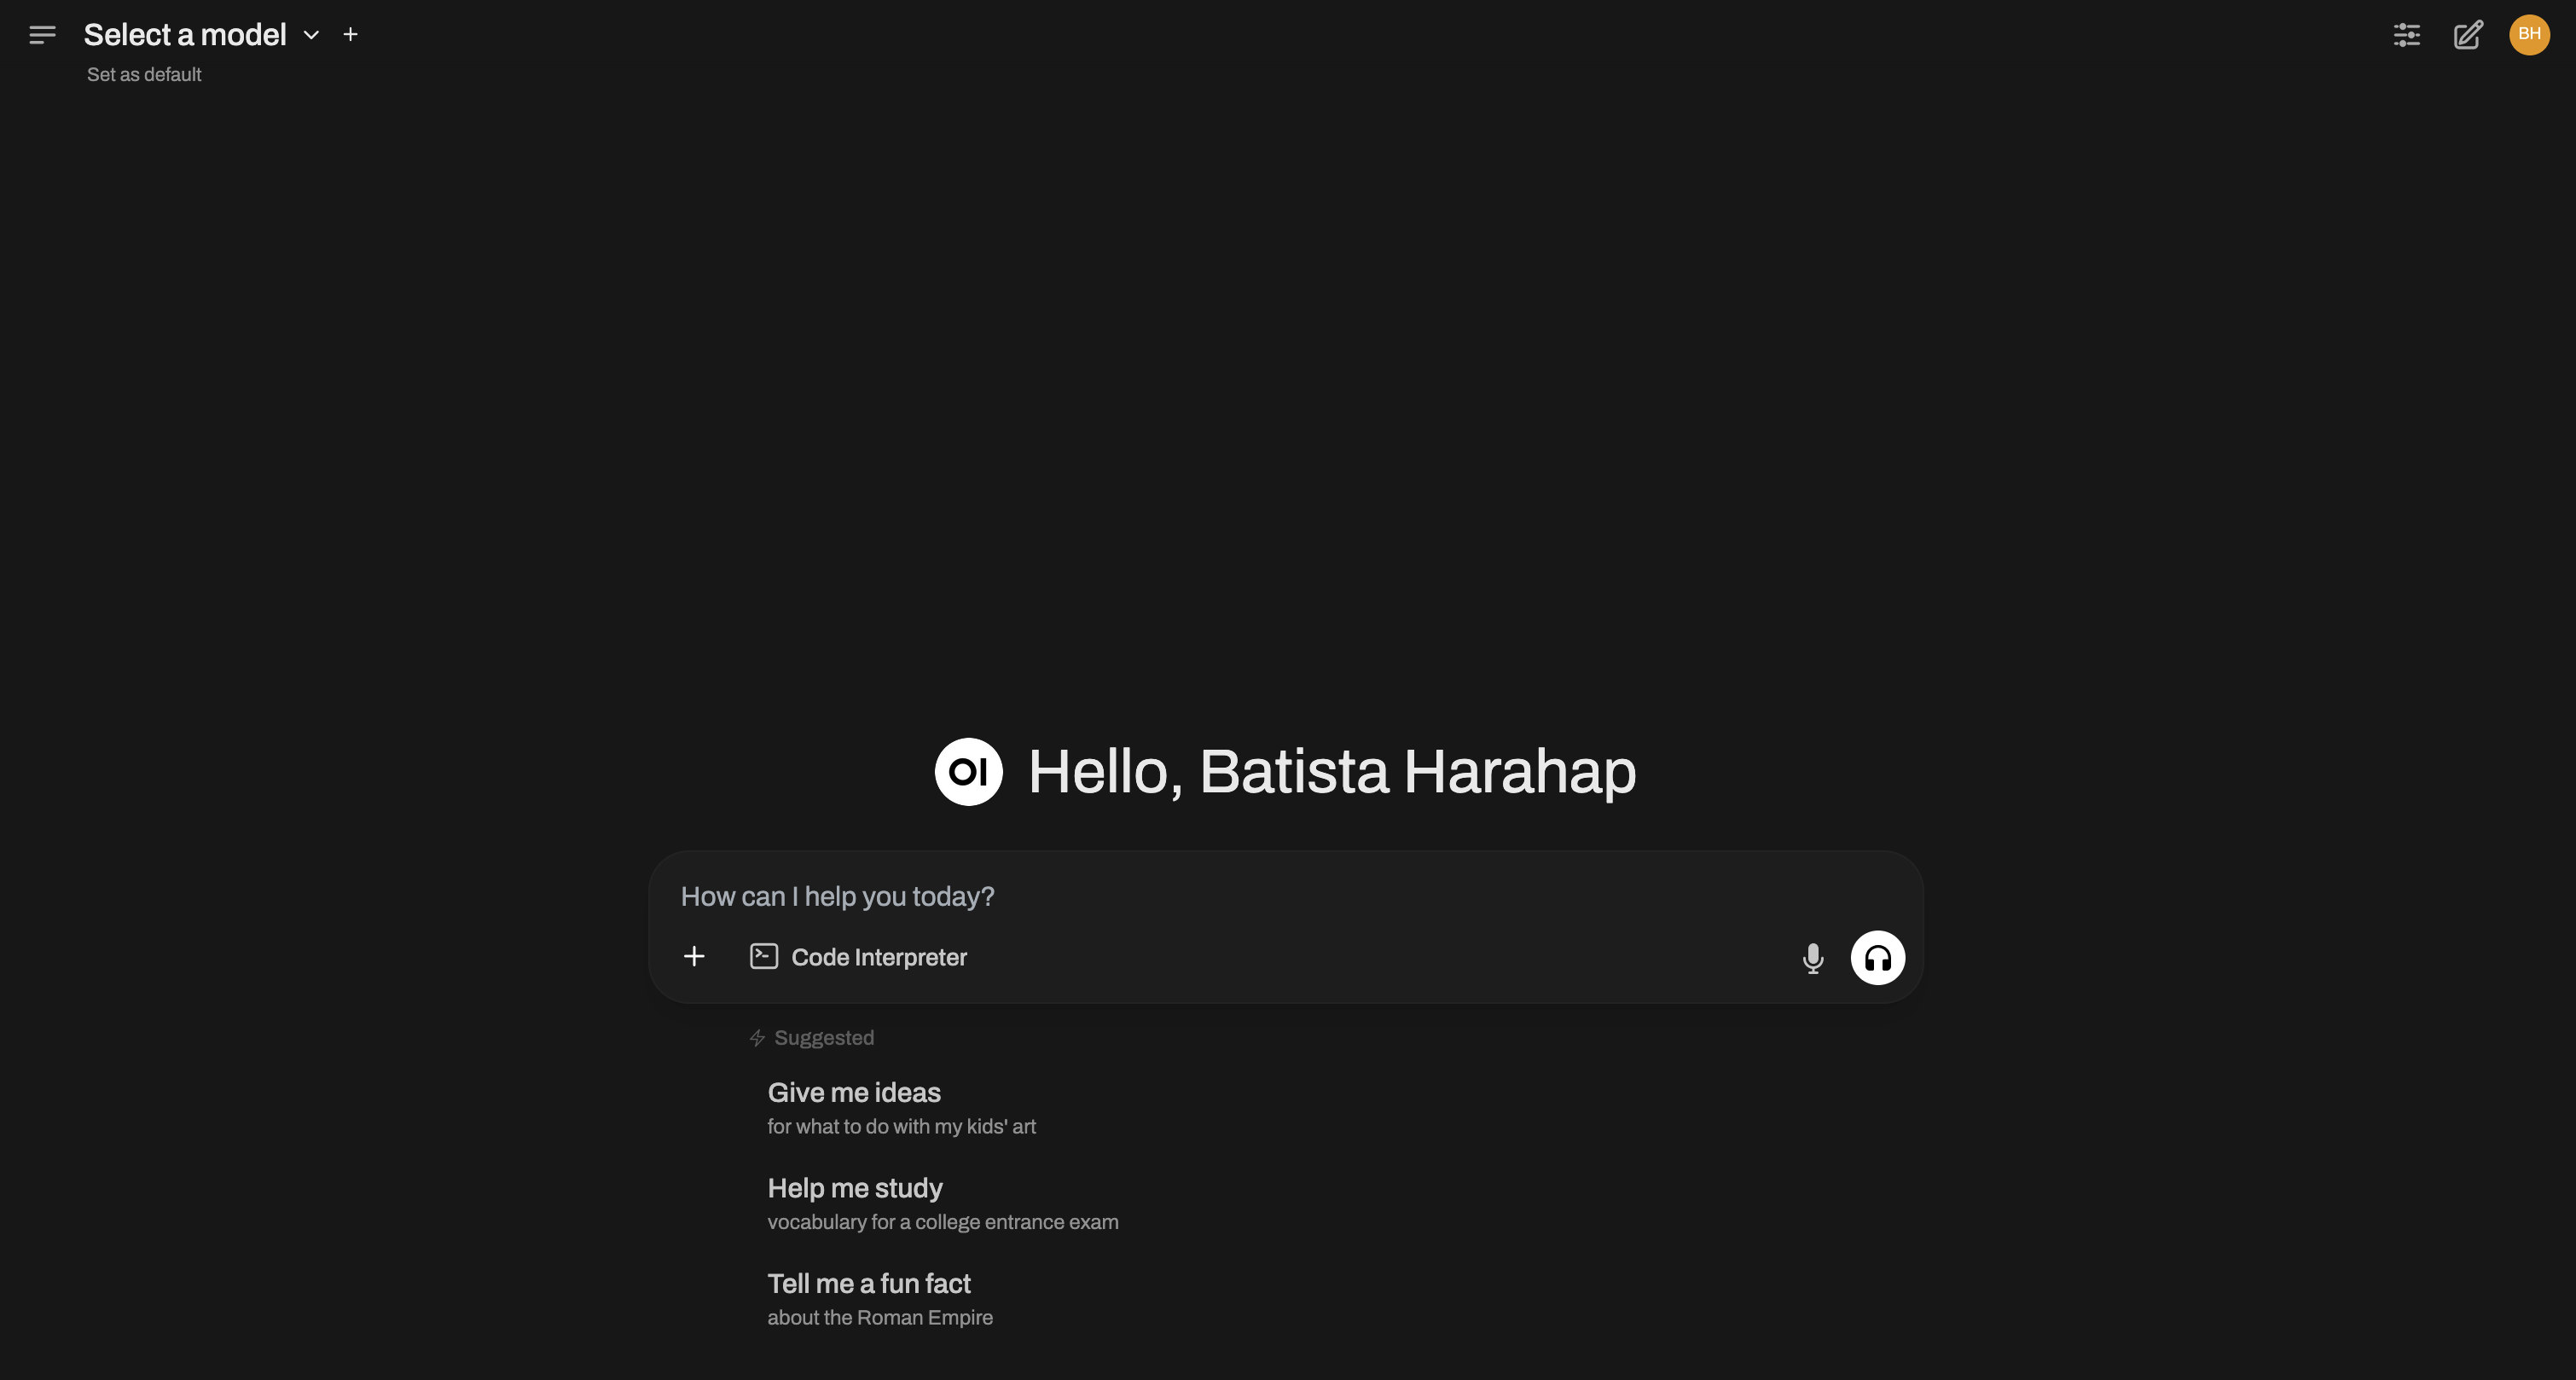
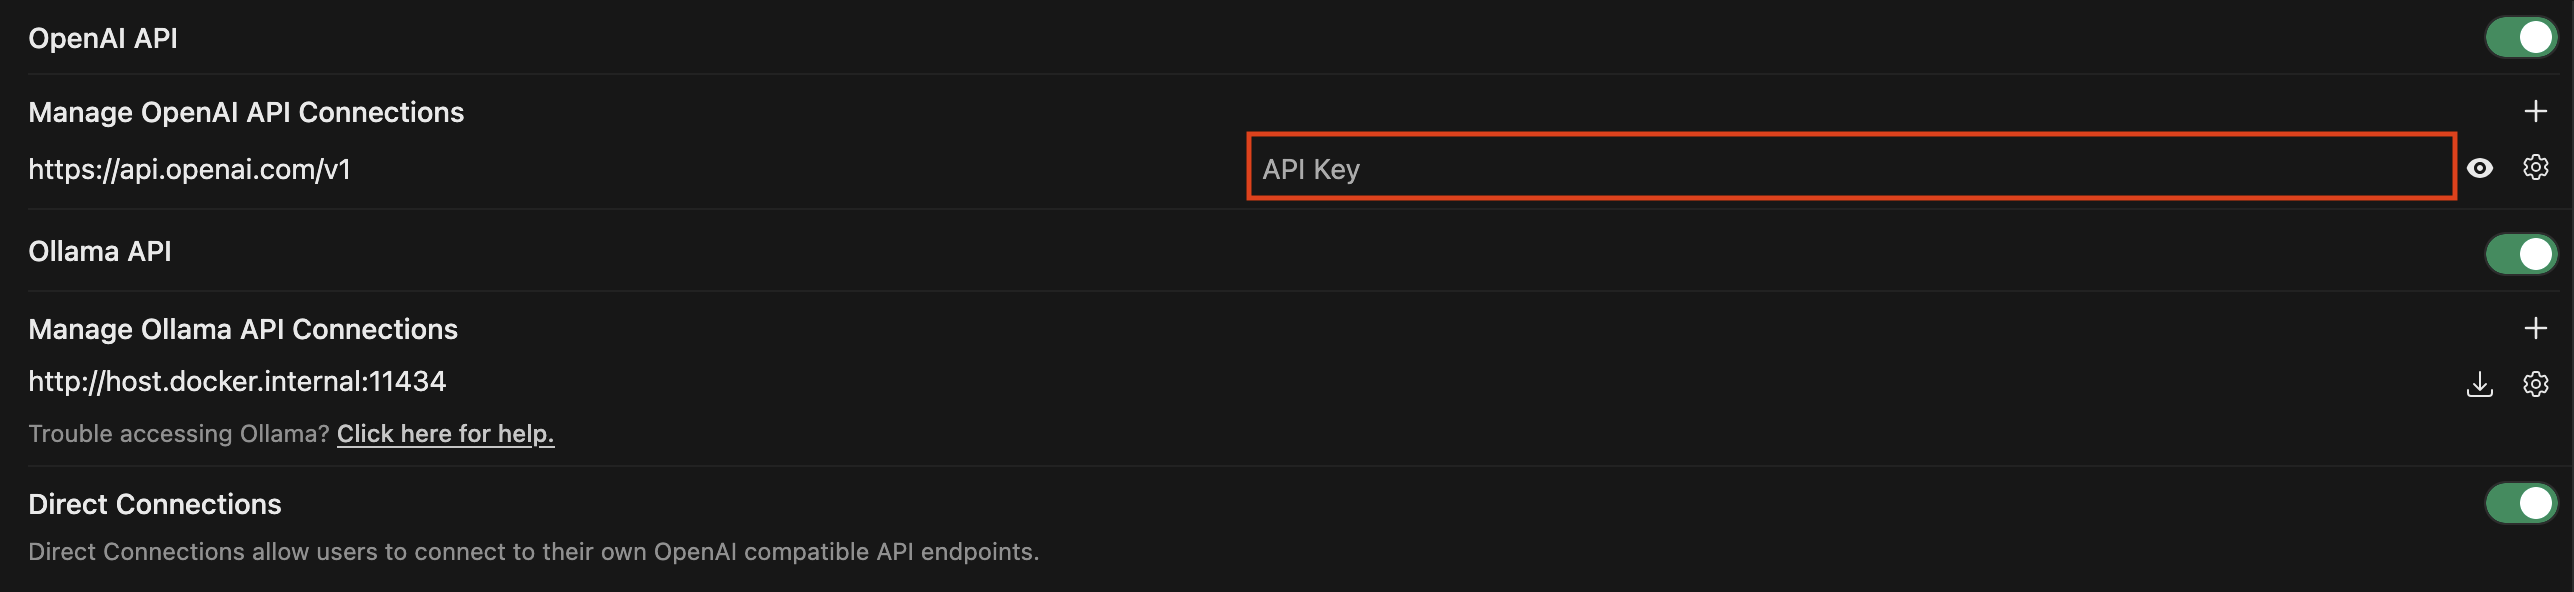
Setting Up Your OpenAI API Key
Do you remember the steps we took to create our own API key? Now is the time to use it!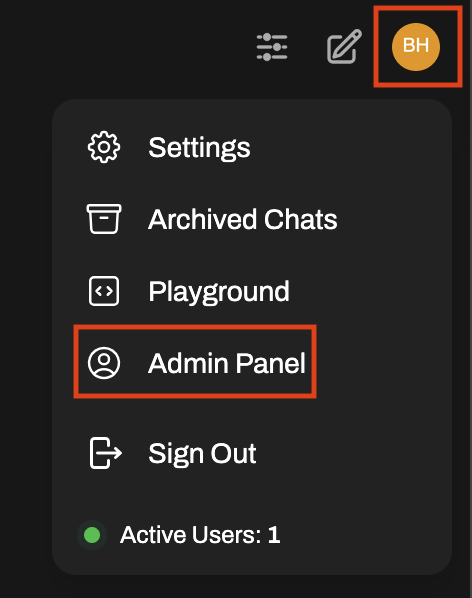
Registered Users
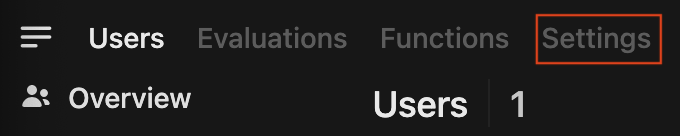
The next page by default will show you a list of the currently registered users, you. You can use this part of the Settings page to add/remove users as you like. For the purpose of this guide, we’re not going to do that now. Instead click on theSettings tab on the left part of the top navigation tabs.
General
You will be taken to theGeneral section of the Admin Settings page. In here you can set up how new users are created. For the sake of security, the tip below will take you far.
Connections
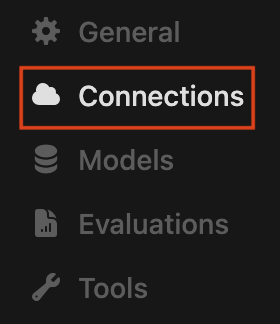
Connections section of the Admin Settings page. In here you can set up the OpenAI API key.
Now your Open WebUI instance is fully setup for text based conversations. You can now start chatting with an AI model or you can follow along to set up image generation and other features.
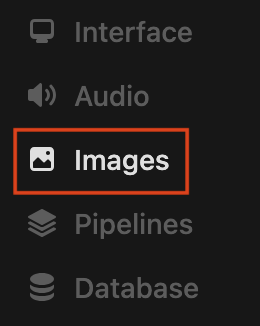
Image Generation

Third Step
On the
Set Default Model field, you can choose between gpt-image-1 (flagship model), dall-e-3 or dall-e-2.Fourth Step
On the
Set Image Size field, depending on the model you choose, the sizes will vary. To start with, type in 1024x1024.Fifth Step
Leave the
Set Steps field as it is. The more steps you add, the better the results will be but the more expensive it will be.Model Cards
For your benefit, here are the model cards for all of OpenAI’s image models:Audio Generation
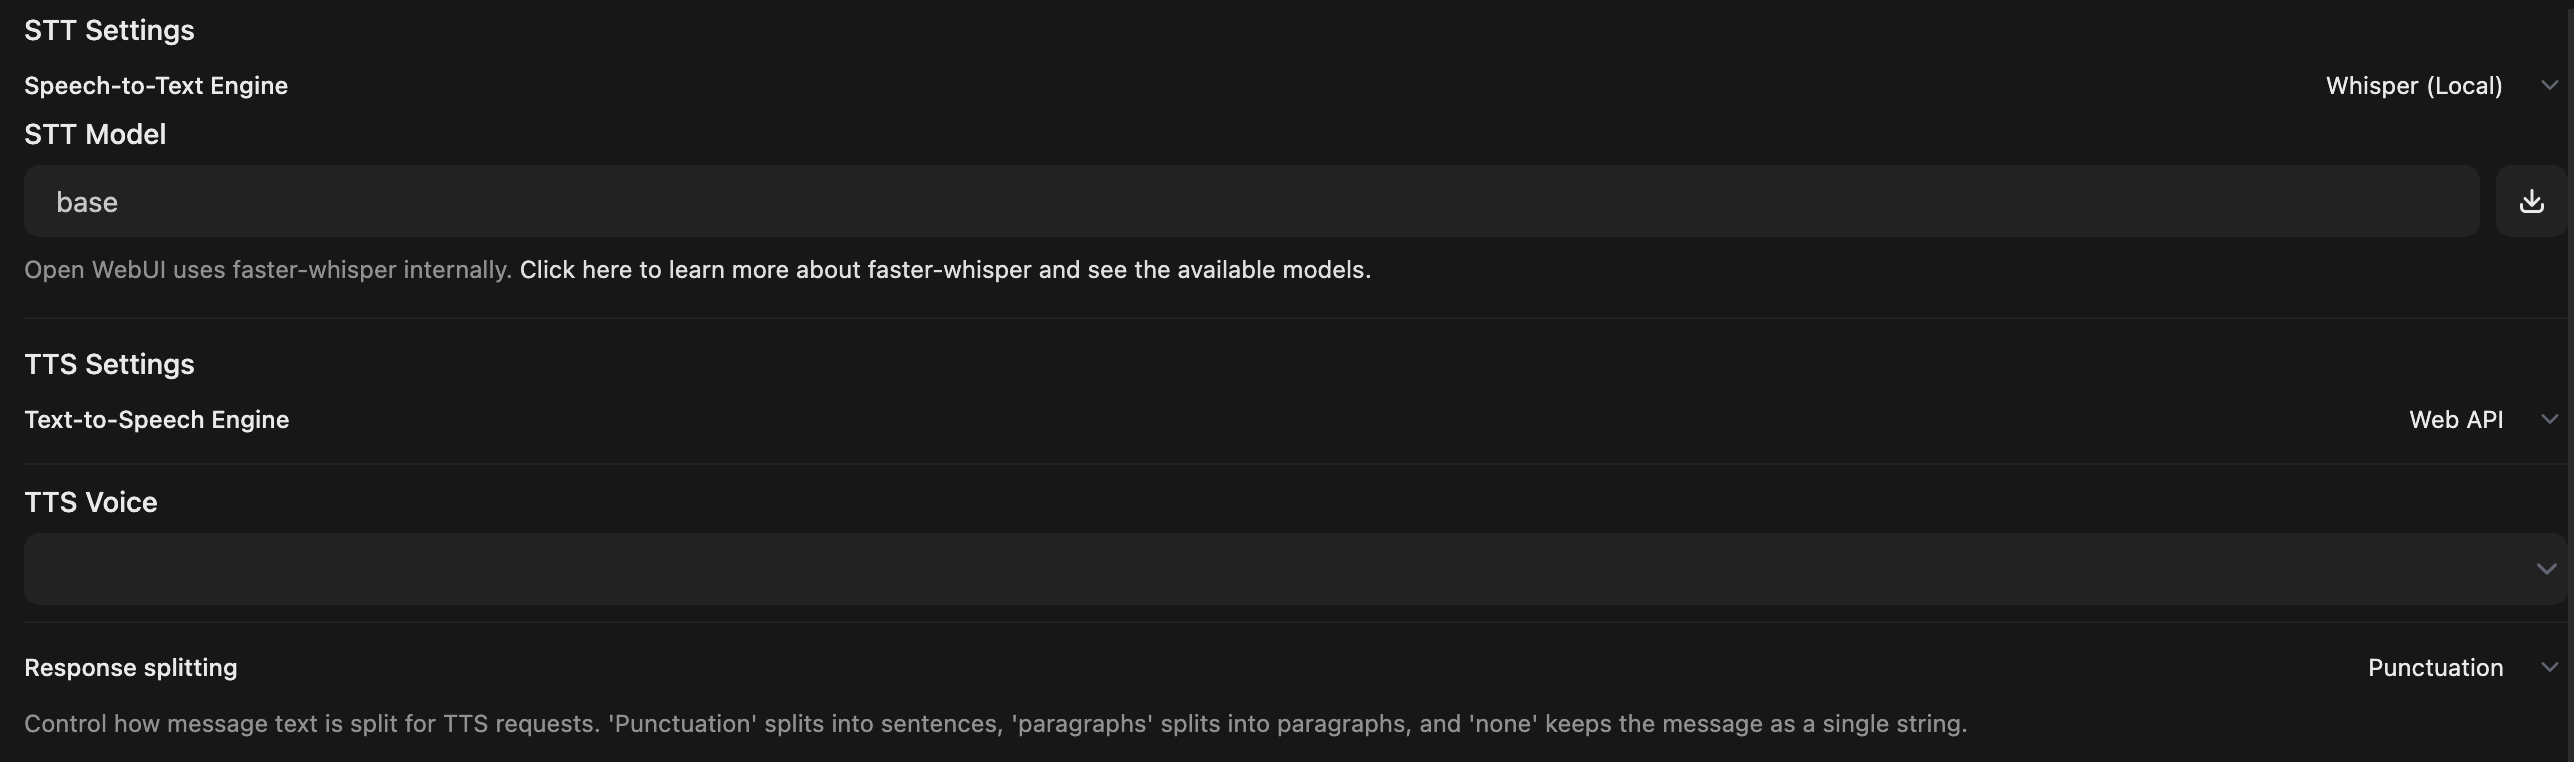
Third Step
In the
STT Model field, type in whisper-1 to use OpenAI’s Whisper model. Available models are whisper-1, gpt-4o-mini-transcribe and gpt-4o-transcribe.Model Cards
For your benefit, here are the model cards for all of OpenAI’s TTS models: And here are the model cards for all of OpenAI’s STT models:Enabling Web Search
Yes, you can let the AI to Google for more context.
Third Step
In the
Searxng Query URL, SleekChat has already provided you a SearxNG instance, you can use that by entering https://searxng.sleekchat.net
Web Search button on your text input field. Click on that to let the AI search the web for more context.